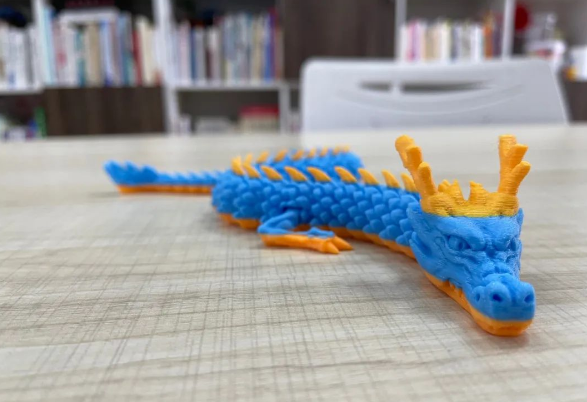
The continuous development of 3D printing technology provides infinite possibilities for creative enthusiasts, and creating stunning 3D printing dragon models has become a dream in the hearts of many people. This article will provide you with a 3D printing guide to gradually learn how to use 3D printing technology to create lifelike and stunning dragon models.
What is 3D Printing?
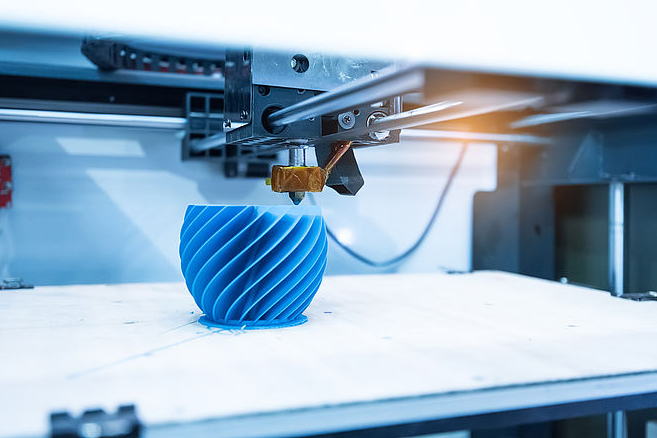
3D printing, also known as additive manufacturing, is a process of creating three-dimensional objects from a digital file. Unlike traditional manufacturing methods that involve subtractive processes (cutting, drilling, etc.), 3D printing builds objects layer by layer, adding material only where it is needed.
The process typically starts with creating a 3D model of the object using computer-aided design (CAD) software or by scanning an existing object. This digital model is then sliced into thin horizontal layers using slicing software, which generates instructions (G-code) for the 3D printer.
During printing, the printer follows these instructions, depositing material layer by layer to gradually build up the final object. The materials used in 3D printing can vary widely, including plastics, metals, ceramics, and even biological materials like living cells.
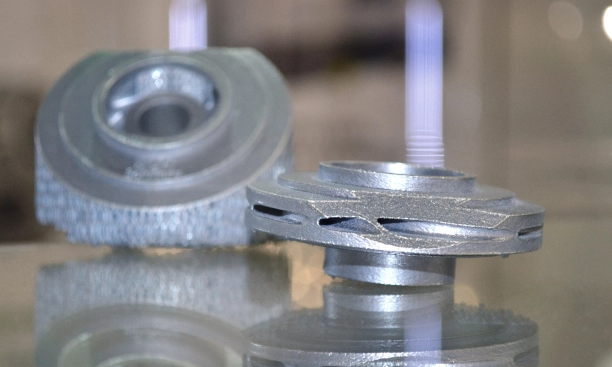
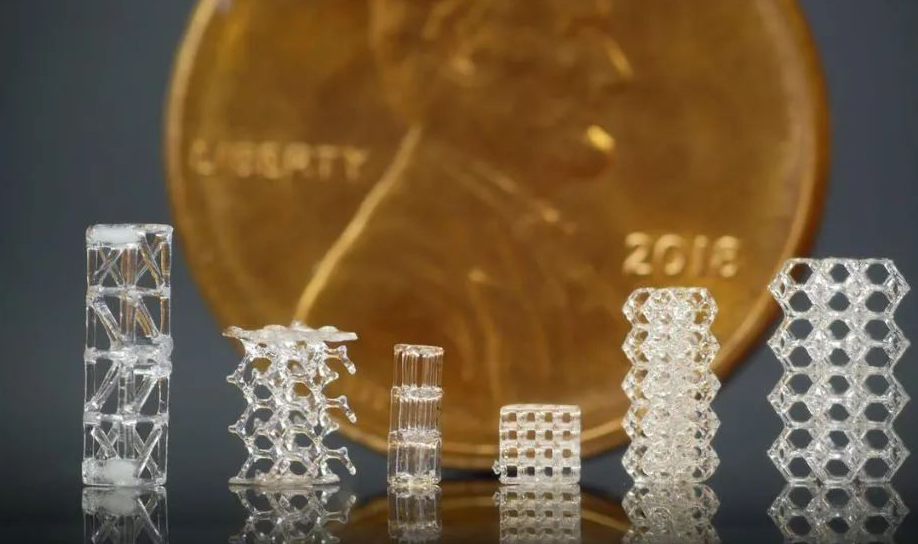
3D printing technology is divided into different types, such as photopolymerization, melt deposition (metal 3D printing), powder hot melt, and beam deposition.
How to 3D Print a Dragon?
Below, we will introduce how to use 3D printing technology to create a beautiful dragon model. Through detailed steps and techniques, you will be able to master the entire process from design to printing, turning your imagination into reality and creating unique dragon works.
Step 1: Preparation work
Before starting to create a 3D printing dragon model, make sure you have prepared the following:
1.1 Choose the appropriate 3D printer
Ensure that your 3D printer is working properly and understand its basic operations. If you are a beginner, it is recommended to choose an entry-level printer that is easy to operate and maintain.
Entry level printers: Creativity End 3, Anycubic i3 Mega, and other entry-level printers are easy to use, cost-effective, and suitable for beginners.
Professional level printers: Prusa i3 MK3, Ultimaker 3 and other professional level printers have higher accuracy and stability, suitable for users who pursue higher quality.
Budget considerations: Consider your budget and choose a printer with stable performance and moderate price to ensure effective utilization of investment.
It is important to collect some reference pictures of dragons before starting the design. These pictures can come from movies, animations, books or works of art on the Internet. Reference images can help you understand the different features of dragons, such as head structure, wing shape, and scale texture.
1.2 Start Modeling
Using the selected 3D modeling software, start modeling based on the reference image. Firstly, create the basic shape of the dragon, such as body, head, and limbs. Then, gradually add details such as eyes, wings, and scales.
During the modeling process, various tools can be used to adjust shapes, stretch curves, and add details. Remember to be patient and always refer to the reference images you have collected to ensure that the model matches your imagined dragon.
1.3 Preparing Printing Materials
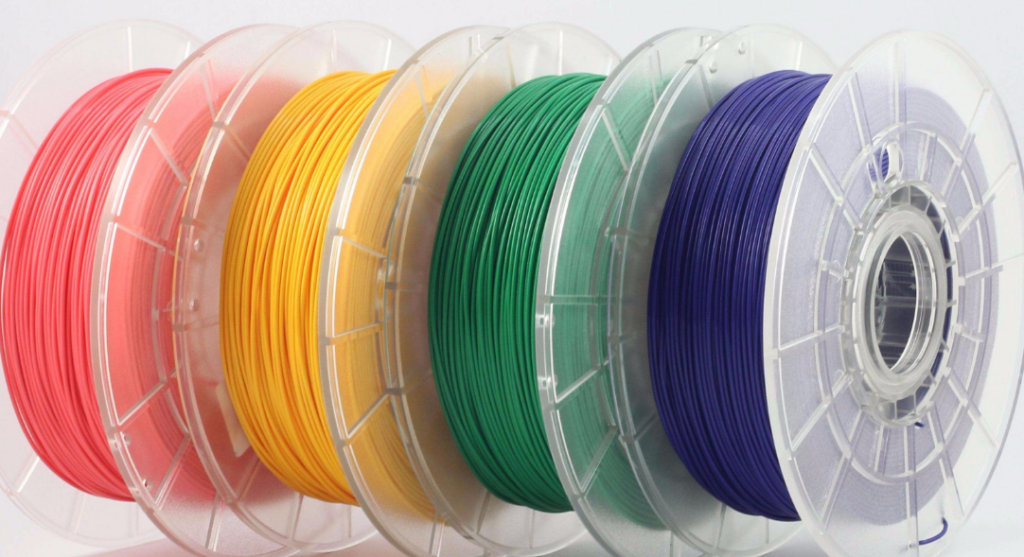
Choose the 3D printing materials that are suitable for your project, commonly used including PLA and ABS. Different materials have different characteristics, which affect the final printing effect.
PLA: Suitable for beginners, environmentally friendly and easy to print. Commonly used in artworks and models.
ABS: With higher heat resistance and strength, it is suitable for projects that require more durable materials.
PETG: Combining the advantages of PLA and ABS, it has heat resistance and strength, and is suitable for printing functional parts.
TPU: Elastic and tear resistant, suitable for making soft dragon model components such as wings or claws.
Woodfill: A dragon model that contains wood fibers and has a woody texture after printing, suitable for creating a natural feeling.
Metal PLA: Contains metal particles that have a metallic luster when printed, making it suitable for creating fantastic dragon models.
Materials Guide
1.4 Obtaining Design Documents
Before starting, download or create the design file of the 3D dragon model you want to print. You can find various design files on the online platform to ensure that you choose a design that meets your technical level and interests.
Online platforms: Utilize online platforms such as Thingiverse and MyMiniFactory, which offer a wide range of free and paid design files.
Community recommendation: Participate in the 3D printing community, get recommendations from other enthusiasts, and understand which design files are easy to print and assemble.
Customized design: If you have a certain level of design ability, you can consider customizing the design to achieve personalized dragon models.
Step 2: Choose the appropriate design
2.1 Consider technical difficulty
When choosing a design, consider your technical level.
Beginner Design: If you are a beginner, it is recommended to choose a relatively simple design to avoid overly complex structures and details. This helps to get started with 3D printing technology more easily.
Step by step challenge: Choose a design that includes some challenging elements to gradually improve your 3D printing skills. You can start with simple dragon models and gradually challenge more complex designs.
2.2 View detailed instructions
When selecting a design, ensure that the design file comes with detailed instructions.
Clear printing parameters: Select a design file that includes clear printing parameters such as layer height, fill density, etc., to better adjust the 3D printer.
Assembly steps: Ensure that the design file contains detailed instructions on the assembly steps to help you assemble correctly after the project is completed.
User evaluation: View other users’ evaluations of design files, understand their experiences and suggestions, to ensure the selection of a reliable design.
Designer communication: If necessary, try to communicate with the designer to obtain more information about design ideas and technical details.
Test printing: Before officially starting printing, a small-scale test printing can be conducted to ensure good printing parameters and machine condition. This can avoid major issues throughout the entire project.
Step 3: Print Settings and Adjustments
After you have selected the design file, entering the print setup and adjustment phase is the key to ensuring success. Here are some detailed steps:
3.1 Importing Design Files
Use the 3D printing software you have chosen (such as Cura, Simplify3D, etc.) to import the design file of the dragon model. Ensure that the software can correctly recognize and parse design files.
3.2 Adjusting Printing Parameters
Carefully adjust printing parameters to optimize printing quality. Here are some key printing parameters:
Layer height: A smaller layer height can improve printing quality, but it will increase printing time. In general, a layer height of 0.2mm is a good choice.
Filling density: Adjust the filling density according to design requirements. For artworks and models, a filling density of 15-20% is typically used.
Supporting structure: If the design file contains suspended parts, add supporting structures to prevent deformation. Ensure that the supporting structure is easy to remove.
Printing temperature: Adjust the temperature of the print head and heating bed based on the selected printing material. Refer to the recommended temperature range provided by the material supplier.
Printing speed: Moderate printing speed helps reduce vibration and improve printing quality. It is usually recommended to be within the range of 40-60mm/s.
Layer cooling: Enable appropriate layer cooling to prevent premature solidification and improve the stability of the suspended layer.

3.3 Preview printing path
Preview the printing path in the software and ensure that the movement path of the print head is normal. Check for any unnecessary movement to prevent accidental collisions.
3.4 Using simulation functions
Some 3D printing software has simulation capabilities that can preview the entire printing process. Use this function to check for potential issues, such as whether the supporting structure is sufficient and whether there are suspended layers.
3.5 Adjusting the support structure
Adjust the position and density of the support structure based on the geometric features of the model. Ensure sufficient support but easy removal to avoid affecting the appearance of the final model.
3.6 Print Test Layer
Before officially starting printing, you can choose to print a test layer to ensure that the printer and settings are working properly. Check if this test layer is uniform and defect free.
3.7 Regularly monitor the printing process
Once printing begins, monitor the printing process regularly. Ensure that the printer is working properly and promptly address any issues.
Step 4: Print and observe
After completing the printing settings and adjustments, proceed to the actual printing process, followed by careful observation of the printing process and the final result.
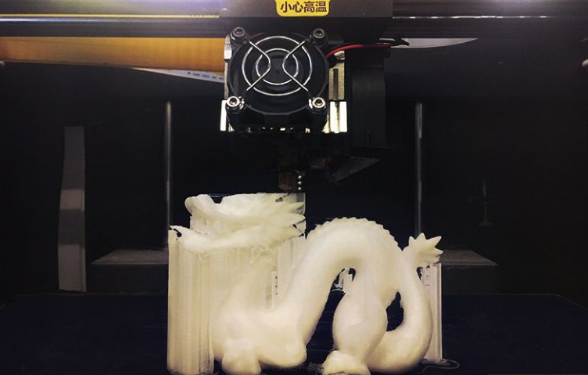
4.1 Starting Printing
After clicking the print button, ensure that the 3D printer starts up properly. Check that the printing bed is flat and the print head is accurately aligned to ensure the normal supply of printing materials.
4.2 Regular check of printing progress
It is crucial to regularly check the printing progress during the printing process. Observe the movement trajectory of the print head to ensure that each layer is completed properly. If necessary, adjust the printing speed and temperature parameters.
4.3 Check printing quality
Once the printing is completed, carefully inspect the printed components. Here are some checkpoints:
Interlayer bonding: Ensure that the bonding between each layer is firm, without obvious layering or breakage.
Clear details: Observe the details of the dragon model to ensure that the design details are clearly reflected on the printed model.
Removal of supporting structures: If supporting structures are used, ensure that they are easily removed without affecting the appearance of the model.
Smooth surface: Check if the surface of the model is smooth without too many minor defects.
4.4 Adjusting subsequent levels
If you encounter any issues during the observation process, you can make adjustments in subsequent levels. This may include adjusting parameters such as printing speed, temperature, and support structure. After adjustment, restart printing.
4.5 Record issues and solutions
If any problems are found during observation, record them in a timely manner and write down solutions. This will help with future improvements and prevent similar issues from happening again.
4.6 Check printing time
Observe the time spent on the entire printing process. This helps you better plan future printing projects and adjust printing parameters when needed to shorten printing time.
4.7 Adjusting detailed parameters
Based on actual observations, it is possible to consider adjusting some detailed parameters, such as printing temperature, cooling fan speed, etc. This helps to fine tune the printing effect.
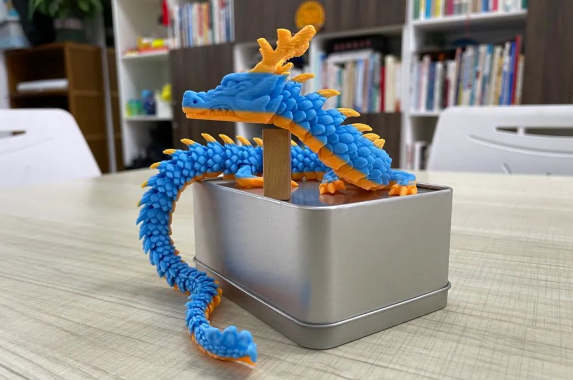
Step 5: Assembly and Painting
After successfully completing 3D printing, the next stage is assembly and painting. The following is a more detailed explanation of each step to be performed, ensuring that you can easily complete each step:
5.1 Preparation of work area
Before starting assembly, ensure that your workspace is clean and orderly. Clean up printing waste, cut edges and corners to ensure sufficient workspace. Prepare an assembly area to prevent parts from being lost.
5.2 Check printing components
Carefully inspect each printed component. Ensure that there are no obvious defects, deformations, or damages. Use a small file or sandpaper to remove any possible burrs or unevenness.
5.3 Assemble according to instructions
According to the assembly instructions in the design document, gradually assemble the various components of the dragon model. Ensure the correct position of each component in the order indicated. If the design file does not provide assembly instructions, you can refer to the overall structure of the model for assembly.
Connection method: If there is a specific connection method (slot, thread, magnetic, etc.) between parts, ensure correct correspondence.
Assembly sequence: Follow the assembly sequence suggested by the designer to ensure smooth connection of various parts of the dragon model.
5.4 Use appropriate tools
Select appropriate tools for assembly based on the material and design of the dragon model. Use small screwdrivers, scissors, tweezers, and other tools to ensure precise and precise operation.
5.5 Check connection points
Check each connection point to ensure they are tightly and securely connected. During the assembly process, gently shake the dragon model to ensure that there are no loose or unstable areas.
5.6 Patiently assembling
Assembly may require some patience. For complex dragon models, it may take some time to ensure that each component is correctly installed in the correct position.
5.7 Add personalized coating (optional)
If painting is chosen, consider the following steps:
Polishing: Use fine sandpaper to gently polish the surface of the dragon model to ensure better adhesion of the coating.
Primer: Use primer before painting to improve pigment adhesion and protect the printed model.
Detail painting: Use a small brush to process the details of the dragon model, ensuring that the colors are even and detailed.
5.8 Prevent painting from affecting connection points
If connection points are involved during the assembly process, ensure that painting does not affect the stability of the connections. Apply a layer of protective agent to the connection point to prevent pigment from penetrating and affecting the connection
5.9 Use of safety coatings
If using paint, please ensure that the selected paint is safe and suitable for 3D printing materials. Avoid using chemicals that are harmful to printing materials.
5.10 Final inspection
After completing assembly and painting, carefully inspect the entire dragon model. Ensure that all components are tightly connected, evenly colored, and details are clearly visible. Check the various angles of the dragon model to ensure that there are no missing or incorrect parts.
In this final step, you have successfully completed this cool 3D printed dragon model.
Conclusion
In the end, let’s watch this video together to gain a deeper understanding of the wonders of 3D printing technology and be inspired by creativity.
Through 3D printing technology, you can turn your imagined dragon model into reality. Although this requires some learning and patience, the final result will be amazing.
FAQ
The time it takes to print a dragon on a 3D printer varies based on factors like size, complexity, layer height, print speed, and printer type. A medium-sized dragon model with moderate detail on a typical FDM printer might take around 6 to 20 hours, while larger or more intricate models could take significantly longer.
No, 3D print files themselves are not inherently illegal. However, their legality depends on factors such as intellectual property rights, licensing agreements, and the use of restricted content.
One of the most worrying illegal uses of 3D printers is the production of firearms or weapon components. This includes the ability to create fully functional firearms or parts that can bypass traditional firearm regulations and background checks. This poses significant risks to public safety and security, as it enables individuals to manufacture untraceable and potentially lethal weapons with relative ease. Efforts to address and regulate this illegal use of 3D printers are ongoing to mitigate these concerns.